
How to Create Branded Content with AI and Canva: A Repeatable 7-Page Carousel
Content CreationCONTENT CREATION
Turn one useful idea into a seven-page, branded Instagram carousel you can build, review, and reuse in Canva—without needing a design team.
I wanted more than a pretty post. I wanted content that teaches something, looks like it belongs to the correct business, and gives people a reason to keep swiping. The obvious instruction—“make a carousel in Canva”—was not enough. It skipped the decisions that make the work repeatable.
That became especially clear while creating the carousel for this article. The finished piece is usable, but reaching it took more back-and-forth than a real content system should require. So this guide does not pretend the design appeared perfectly on the first attempt. It turns what I learned into a process you can follow without reconstructing the entire lesson from seven small squares.
What you will finish
One 1080 × 1080 Canva design containing seven pages, one clear lesson, consistent brand elements, readable text, and seven PNG files ready to upload as one Instagram post.
Before Canva: define the one useful idea
Start by finishing this sentence:
After reading this carousel, I want my audience to understand…
For this piece, the answer was: branded content begins with one useful idea and a repeatable process—not with having a design team. That sentence is the filter for everything that follows. A trend, decoration, or extra paragraph may be attractive, but if it does not help deliver that promise, it does not get to compete for space.
Smallest next move
Write only the sentence above. Do not open Canva yet. A blank design is much less intimidating when the message already exists.
Step 1: Write the seven-page message before designing
Each page needs one job. The finished campaign inspired this clearer, repeatable teaching sequence:
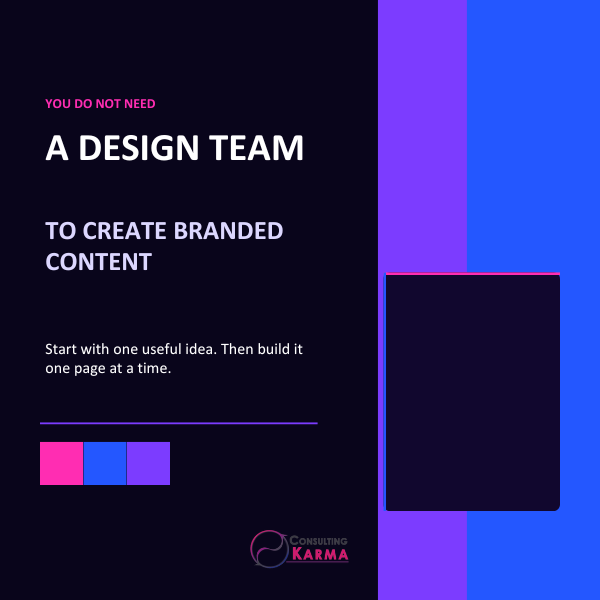
- Cover: You do not need a design team to create branded content.
- Start here: Choose one useful idea.
- Plan the message: Give the idea a clear beginning, middle, and next step.
- Build the pages: Put one main thought on each page.
- Create the visual: Use AI for the image—not for the words inside it.
- Make it recognizable: Apply the same brand system to every page.
- Finish the carousel: Review all seven pages together, then export them in order.
The cover promises an outcome. Pages two through six teach the method. Page seven closes the lesson and gives the reader a concrete action. This is a beginning, middle, and end—not seven unrelated quotes and not an entire article squeezed into tiny type.
Step 2: Create the Canva file
- From Canva, select Create a design.
- Choose Instagram Post (Square), or set a custom size of 1080 × 1080 pixels.
- Rename the file immediately. A useful format is Brand — Topic — Carousel.
- Create seven pages inside the same Canva design. Do not create seven separate files.
- Open your Brand Kit, or gather your approved logo, colors, and fonts before arranging the pages.
At this point, completion means you have one named Canva file with seven blank square pages. Nothing has to look impressive yet.
Step 3: Build one teaching-page system
Design page two as the model for the teaching slides. Give it a small section label, a page number, one headline, a short explanation, and a reserved logo position. Once the spacing and hierarchy work, duplicate that structure for the remaining teaching pages and replace the words.
This is the repeatable part: you are not decorating seven pages separately. You are creating one layout system and changing the message inside it. Keep headings in consistent locations, use the same margins, and make supporting copy short enough to read comfortably on a phone.
Do not get stuck: If one page needs three separate explanations, divide the thought or move the extra detail into the caption or article. Smaller sections are easier to read and easier to design.
Step 4: Use AI for the visual, then keep the words editable
If you generate an image, ask for the scene and composition—not finished text baked into the picture. Add headlines, supporting copy, and your logo in Canva so you control spelling, accessibility, placement, and future edits.
Use this prompt structure:
- Format: square Instagram carousel visual
- Subject: who or what should appear
- Setting: the believable environment
- Style: editorial photo, illustration, collage, or another intentional direction
- Composition: where the subject should sit and where clean space is needed for words
- Brand palette: the colors that should influence the scene
- Exclude: words, logos, watermarks, fake screens, and interface text
For example: “Place the subject right of center and leave clean negative space on the left for a headline.” That sentence prevents a beautiful image from filling every available inch and leaving nowhere sensible for the lesson.
Step 5: Apply one brand system
Brand consistency is not simply putting a logo somewhere on every page. Use the same approved colors and fonts, repeat the same heading hierarchy, keep page numbers in predictable locations, and use one restrained visual detail throughout the sequence.
Decide the logo rule before placing it: same width, same clear space from the edges, and the same general position unless the composition requires an intentional exception. If the logo needs to be centered, select the logo element itself—do not drag the page background. In a 1080-pixel-wide design, a 190-pixel-wide logo is mathematically centered when its left position is 445 pixels: (1080 − 190) ÷ 2.
That last detail matters because “it looks about right” becomes difficult to repeat. Measurements turn a one-time fix into a rule.
Step 6: Make the pages feel connected
A carousel should feel like one campaign, not seven matching flyers. Connection can come from repeated grid geometry, page numbers, consistent color blocks, a line that travels from one edge to the next, or a visual rhythm that shifts deliberately across the sequence.
Use Canva’s page overview or grid view. Before reading a word, you should be able to see that the pages belong together. If a watermark, oversized logo, or decoration competes with the message, remove it. Repetition should guide the eye—not create a second design fighting the first.
Step 7: Run the full completion check
- All seven pages are present and in the correct order.
- The cover makes one clear promise.
- Every teaching page contains one main thought.
- Headlines are readable at phone size.
- Body copy has enough contrast and breathing room.
- Colors, fonts, page numbers, and logo treatment are consistent.
- No important element is too close to an edge.
- Nothing looks accidentally pasted on, off-center, or in conflict with the background.
- Spelling and punctuation are correct.
- The final page makes the next action obvious.
Then select Share → Download → PNG → All pages. Confirm that the download contains seven separate images in page order. In Instagram, create one post, choose the multiple-image option, and select the files in that same order.
Turn the finished carousel into a reusable system
Keep the original Canva file. For the next carousel, make a copy, replace the seven-page script, update the primary visual, and preserve the brand rules that still work. Do not rebuild your margins, logo placement, hierarchy, and page numbering from memory every time.
The goal is not to make seven slides and call yourself productive. The goal is to reduce the number of decisions between having an idea and publishing something useful. One completed, reusable system is more valuable than a folder full of attractive experiments you cannot reproduce.
Your next move: make one, not a month
Choose one useful idea. Write the seven-page jobs. Open one 1080 × 1080 Canva file. Finish the first page before trying to build an entire content calendar.
Need help deciding what your content should lead toward? Explore The Purpose Pathway, or continue through the Content Creation hub.
Transparency note: This article reflects my independent experience using ChatGPT and Canva. It is not sponsored by OpenAI or Canva, and no affiliate relationship is implied.